I told myself never again. I would never procrastinate on an A-kon Costume, but this year I did much worse. Well, worse as in changing my mind last minute. Gah, everyone tries to choose the best costume and you’re already thinking about how successful your costume will be if you are X person or Y character. But reality sets in and your actual lifestyle reminds you that you’re not dedicated. You’re not ready to spend 20 hours or 3 months of your life preparing for a costume that won’t matter except for 3 days of the year. Heck, but that little fact just seems sooOOoOoo far away.
A-Kon Dallas 25 marked a day for video game cosplayers to break a WORLD record of them gathered. Crushing Finland with 500+ cosplayers, people were required to dress head to toe in authentic VIDEO GAME characters. Their origins had to begin in video games and not from a tv show or a half ass costume. You couldn’t wear a tail and ears and then call yourself Pikachu.
Having discovered this attempt to break a record two weeks before A-kon, I scrapped my costume choice, The Painted Lady from Avatar: The Last Airbender, and searched with fervor for a video game costume. Note: I didn’t even begin the Painted lady costume so I didn’t really lose any time. With three factors in mind, I wikipedia’ed (sp) “Female Video Game Characters” and then clicked onto every single one checking for the following criteria to be met:
- Was the character cool (i.e. I didn’t want to be walking around as a “dumb” or unknown character)
- Was their outfit or body standards something that I was comfortable with (Not everyone has the guts to walk around as Chun Li or Cami bearing nothing but a tight leotard – I don’t care how cool your character is)
- Would I be able to make the costume with the limited sources and time available
I eventually chose JUN KAZAMA from TEKKEN because it was probably THE easiest costume that fit all criterion. Strangely, a lot of Tekken characters are easily doable if you just go out and buy thrifted goods.
Even though I thought her outfit was the “easiest”, it certain wasn’t an easy feat. You would think a gal who wears all white and black would be pretty simple but its the perfectionist in me that likes to be correct in every detail.
Anyways, why do you care? You probably don’t. But this is for all the future Jun Kazama cosplayers (seriously if you don’t know what cosplay means or is then that’s what Google is for) out there desperately looking for a starting point or a means to approach the character without feeling lost. I documented most of my process in creating my character’s costume. There are not a lot of cosplay search results with her outfit and the one or two I found that was dead on matching were just not helpful.
Difficulty: Easy to Medium
Time: 5 days loosely – I recommend at least a 2 week starting point from the day you literally say “I do” to the character
True to Character Likeness: 3.5 – I’ll explain this later but visually you’ll see why
The Essential Pieces – the stuff you buy
- The White Jumper
- The black shoulder Wrap
- The head band
- The belt
- The shoes


All those things considered, I went straight to Amazon for two reasons. The accessibility and PRIME shipping. 2-day shipping makes heck of a lot of difference. Even if you’re not a cosplayer, as an online consumer it’s just the best. *School students can get Prime for half the cost. And trust me, 99% of cosplayers are still under the age of 16. I lied. That statistic is all based off of nothing. I just made it up. But if you’re ever been to A-kon – you’ll discover quickly that it reeks of poor hygiene, pimples, prepubescent voices, and sexual awareness – yeah i just described H-I-G-H S-C-H-O-O-L. Scratch that – it’s Middle School now.
But anyway’s back to the Essentials.
- The jumper was actually a surprising find – it wasn’t exactly what I wanted but close enough to get the impression. Unfortunately it was a medium but I took it anyways. Cost: $25
- The black shoulder wrap – i had the feeling I would have to make it but you can get a decent $6 black scarf at Wal-Mart. Don’t underestimate WalMart, it’s your best friend at 11pm at night
- Head band – part of a 3 color set for $3.98 also at Walmart
- The belt was a miss – I couldn’t find it anywhere even GoodWill was no good. That doesn’t mean you won’t have the same results. Always always check Good Will.
- The shoes – so the authentic Jun sports more orthopedic croc like sandals which I just didn’t want to wear. If you buy black sandals or crocs, it passes. For me, I wanted to look somewhat taller so I wore black heels – Forever 21 $15
The details – the stuff you actually have to pay attention to
- The black birds
- The hair
- The flower emblem
I’m going to skip 1 because that actually has a process that I have to breakdown. For #2 – the hair. It’s easy – chop your hair off to shoulder length. You don’t even have to – just keep it straight. Slick it back with your headband and pull a few strands over your forehead for extra measure. I hated how it looked when I did that so I nixed it. #3 the flower emblem – you’ll definitely need to find close ups of the back of her black wrap and draw a lotus/hydrangea flower. Outline it with gold fabric pens and white fabric paint.
So I had literally had NO time to do anything and being a perfectionist, it wasn’t easy for me to just eliminate details but I found that the flower emblem is probably the least noticed of the entire outfit.
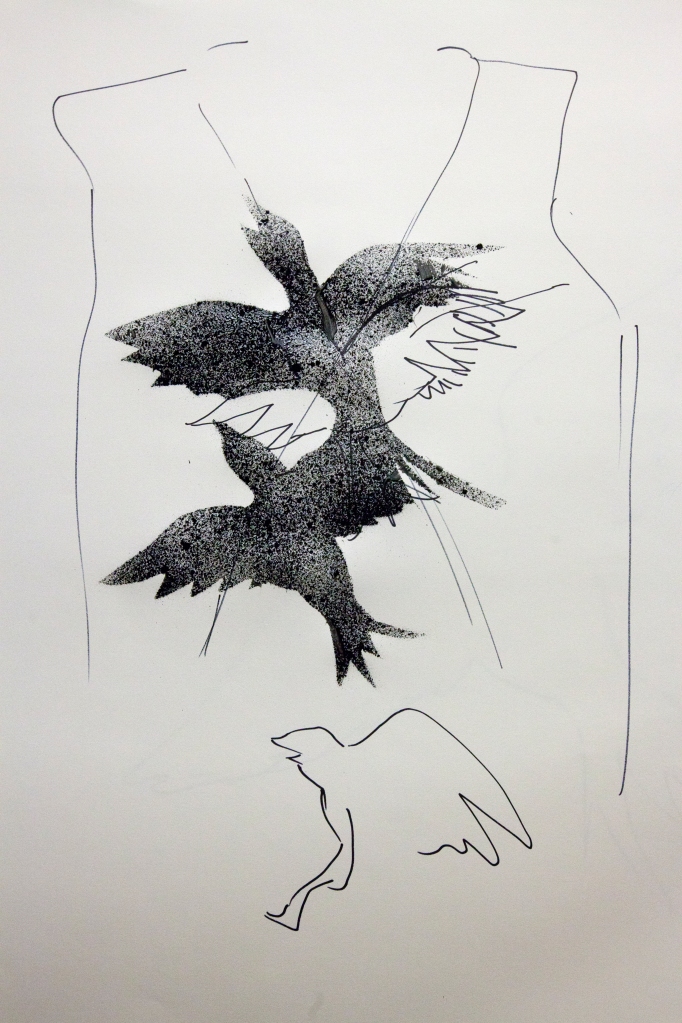
Alright – #1. The black bird painting design
Everything I did was all by hand. From other cosplayers, I noticed that it looked hand painted or they cut out bird stencils and just sewed or painted it on. The latter looked really unfinished and tacky. This is the part that is more time consuming and the only part that I would dub as “Medium” difficulty.
Materials:
1 – Strathmore Drawing Paper
1 – White Mat board
1 – Fabric Paint
1 – A cup for dumping paint in
Painters Tape
1 – Double Stick Tape
Newspapers
Weights or Heavy objects
Safety Pins
Scissors/Exacto Knife
A thick paint brush with soft bristles
A small paint brush for tiny details
1 – Tulip Fabric Spray Paint Asphalt color *****AMAZON $4 – the best thing you’ll ever buy for your costume. This spray paint is odorless, washable if you get it on your skin or your things (but only cleanable right away), and easy to use.
DO NOT USE REGULAR SPRAY PAINT! 
**Side note: I had to get my jumper slightly tailored – that is another factor of time you’ll have to consider when ordering your Essential pieces
PREP STEPS
- Wash all your items especially if you get them at Good Will
- Steam your clothes – this will make it easier to have a clean paint job and smoother surfaces are always best to work with
- Make sure you have plenty of room to work around – a sink that’s accessible near by, paper towels, and all supplies within reach.
- Clear your work space and lay down the newspapers to keep your table clean and it makes for easy clean up. Use painters tape to secure newspapers to your surface.
- Lay down sheets of strathmore drawing paper on top – the reason I say this is because you’re working with White fabric. Newspapers sometimes still carry residue and ink which might get onto your white fabric. Tape those sheets on top of the newspaper
YAY – you’re ready!!
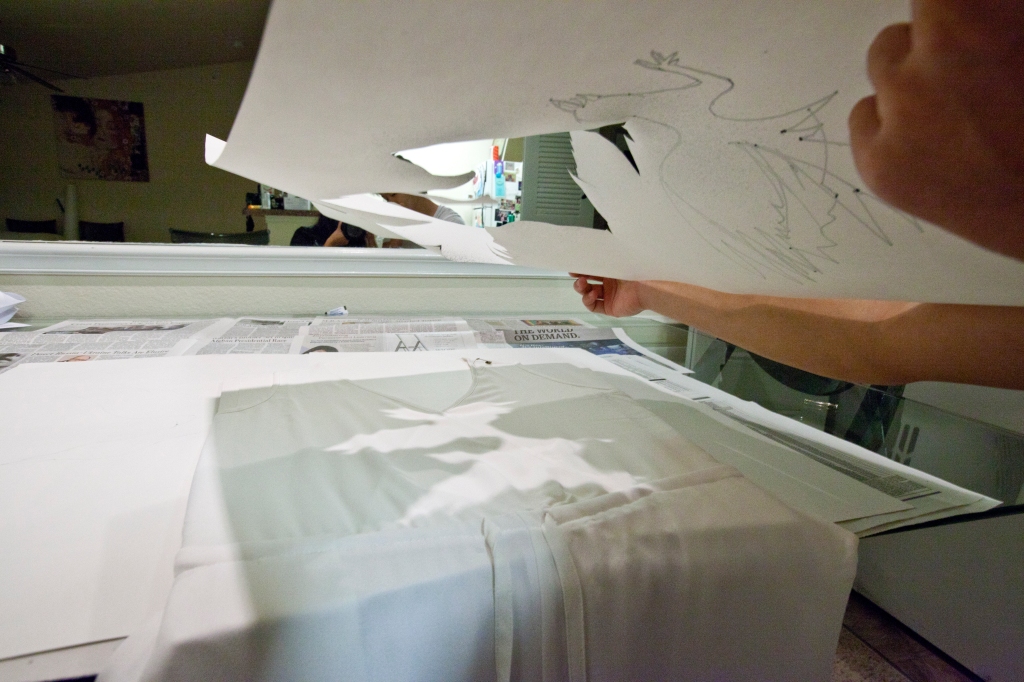
- Now, lay flat your jumper – just the top section over your work surface.
- Using Strathmore paper – attempt to trace an outline of the outfit. This will serve as a guide line of where you’ll be placing stencils for painting.
- Freehand your bird drawing on your strathmore paper
- When finished – cut out the stencil as best as you can – this will be your first stencil
- Once you’ve done that, you can hover the stencil over the top of the jumper and the light will cast a shadow underneath. This will give you an idea of where you’ll need to place your stencil and also give you an idea of what your birds will look like in the end
- This next step is really important! Before you do any painting, you’ll need to cut out a sheet of paper that can go underneath the top. If you don’t, the fabric paint will seep right through to the back of your jumper. Be sure to reinforce this with your mat board. The thickness of the mat board will prevent the paint from seeping in and it also provides a hard surface for you to paint on.
- When you’re ready, place your stencil over your fabric and gently safety pin the corners of the fabric so they stay in place and don’t wrinkle while you’re painting
- Then put heavy weights all around so that your stencil doesn’t flap up
- Using your double stick tape, tape under your stencil in places that your weights can’t cover (e.g. the wings of the bird or the beak) This has proven to be really really useful
- Take your spray paint and on another sheet a paper, spray paint once to see the control of your spraying. It will matter when you finish. You’ll need to press on the nozzle consistently to get good coverage.
- If you’re feeling comfortable – you’re ready to begin
- When you spray paint, always start at the edge and spray slightly at an angle from the outside in. Otherwise, if you don’t you’ll lose the actual sharpness of the bird stencil. When you get to the large spaces that need paint, spray directly downward and don’t be afraid to use it. That bottle of spray paint will get you through I promise!
- Once you’ve covered the entire stencil corner to corner, step back and do not touch anything for about 40 minutes.
- After 40 minutes is up, you can remove the weights, and safety pins, and CAREFULLY lift straight up your stencil. Do NOT move anything else. Your outfit still needs to dry for at least FOUR more hours.
- In the mean time you can create the other stencils for the rest of the leg down. Repeat Steps 8-14 for the rest of the stenciling.
- Once you’ve done all that, the last part is painting the black bottom pant section. This you can do freely with your soft bristle brush.
- Dump the remaining spray paint into a cup. You can dip your brush into it and with gentle strokes paint up and around the leg.
- One thing I will tell you is to do one side first and then the other. When both are FULLY dry – you can use your paint to round out and clean up the edges where the stitches are. Let loose and be sure to cover that right leg with lots of paint.
- Lastly, with your fine paint brush, paint the “tassels” that start from the mid-section to the bottom of the right pant leg
- Let all dry for the remaining time.
YOU DID IT! YAY! You’re a recognizable JUN KAZAMA! Now, I’ll explain my rating of “True to Character Likeness”. So as you can tell, the picture and the costume are similar and not identical but for A-kon it passes. Why? Well, think of it like this. If you were sort of blind and were only able to squint, would you still be able to recognize who it was even if it was blurry? If yes, then you pass. In my case, it’s an easy pass. That’s why I said the flower detail on the black wrap wasn’t necessary. Kudos to you if you can mimic it detail for detail. But for the rest of us non hard core cosplayers, we like to keep it within reason.


I found out the results of cosplaying Jun Kazama in this generation is not very popular but the people who do ask to take your picture really appreciate it. Someone said to me verbatim, “I think you’re the first person I’ve ever seen cosplay Jun Kazama.” I took it as a compliment. The few that knew were excited and proud. And the other Tekken characters appreciate it too. ESPECIALLY if your boyfriend cosplays as KAZUYA MISHIMI (Jun’s lover).


All in all, I learned a lot from this and it’s a great thing to wear to sleep =)
Happy Cosplaying! Good luck!
For more COSPLAY photos I took, click this link: http://estherhuynhphotography.pixieset.com/a-kon25/


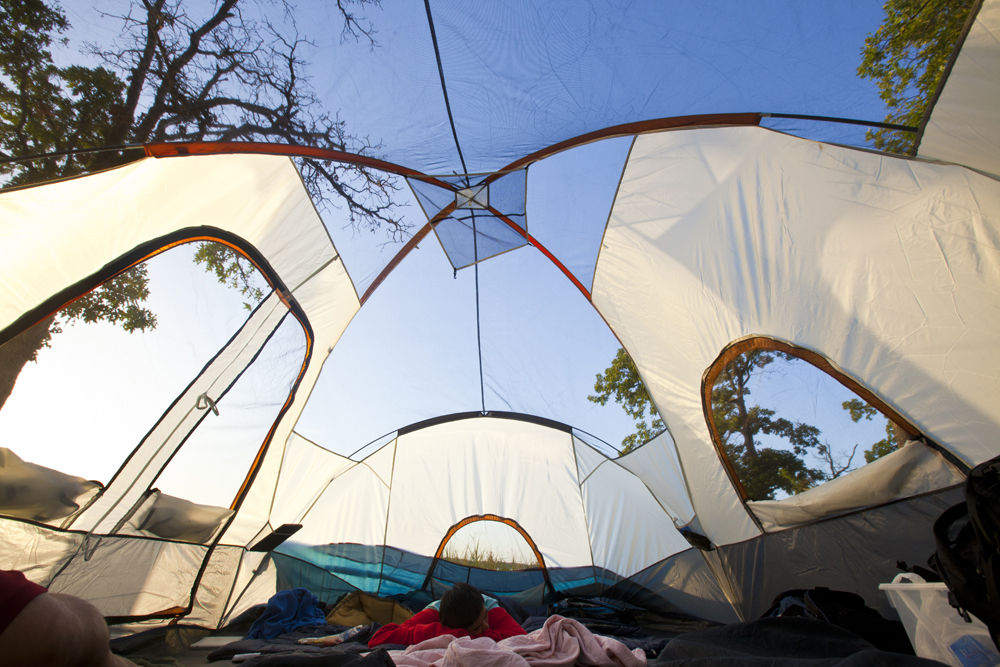 I haven’t been camping in years but I’ve always enjoyed it. Coming to camp this past weekend, my mood was instantly lifted. I don’t know what happened to me but I was extremely happy the first night I was at the camp site. And my mood got even better when I swam at the lake.
  There’s nothing great in particular about this lake. Just a great deal of trees, sand, and sharp rocks within the murky waters. One of the more entertaining elements of the lake was all the small critters fluttering around. I had a chance to snap some photos of the dragonflies and the damselflies resting on some wood. They’re so tiny and fragile but just so complex in design. I got so lucky that they stayed still long enough for me to take several shots.
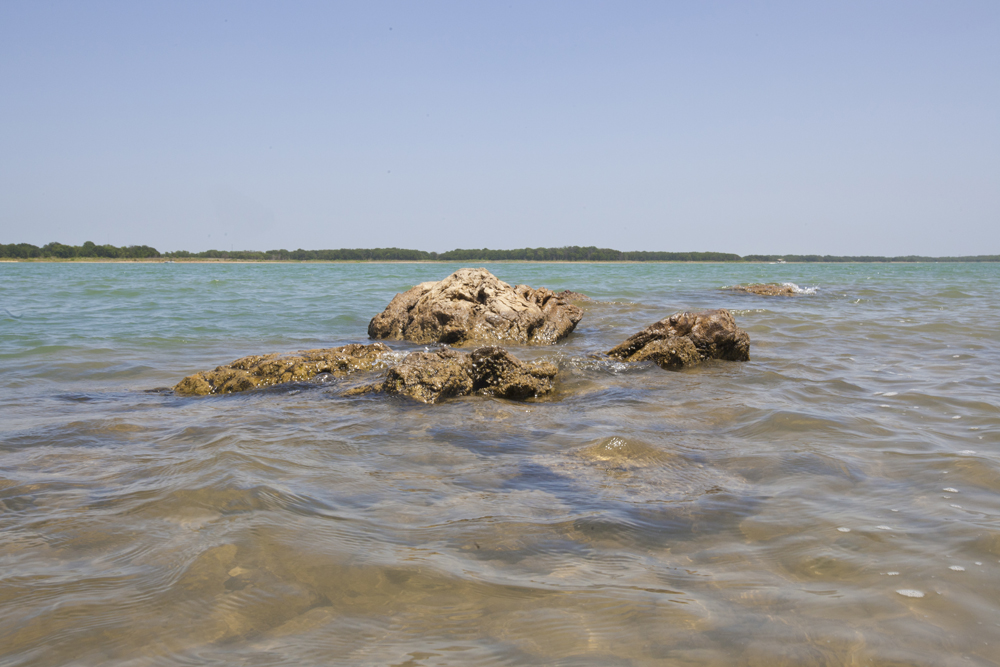

 As the afternoon continued to scorch heat onto everyone, my friends and I did not for one second hesitate to enter the depths of the lake. As soon as my sizzling sun burned body entered the water, I was in complete ecstasy. The cooling waves and the buoyancy of my body just hanging out was the exact kind of getaway that I needed. I spread my legs and arms and moved with ease across the body of blue water. Stroke after stroke I would just keep swimming without a sense of direction or purpose. When I got tired, I flipped over onto my back and gently kicked and pushed my limbs – just pressing on. Floating with the current. I didn’t recall the last thing that happened to me. I didn’t dwell on my inner emotions and fears. I didn’t think at all. Except every now and then about how the sun could really burn my face if I kept pointing it upward towards it. When the weekend passed, my boyfriend would later comment to me about it. “I never knew you were so good at swimming.” He said the evening we returned home. I remember laughing and saying I really enjoy being in the water. He then went on to ask why he wasn’t as good as I am. As I analyzed the difference in skill between us, I told him how often I swam as a kid, all the church camping trips I went to, all the summers I spent at the pool with my friends. I loved being in the water. I loved swimming. There’s something so great about how being in water takes away the gravity of your body. All the weight you bear is removed and you’re left with just a singular entity that just keeps moving. Nothing to hold you down. It didn’t occur to me how now as an adult that swimming was a source of happiness growing up. And I felt so incredibly fulfilled to have reconciled with that pastime activity to regain my strength and well being.

 I recently just got a new apartment and have begun the awful process of packing. Hours later, knee deep in knick knacks, paper, and tons of other junk, I found a few old paintings I had done in college. . It was never my thing to be into painting, I just did it because it was required. Years later, I’m stuck with useless work that will never see the light of day. Not wanting to waste the money I paid for the wood frames (those things get expensive!), I decided to give it a new purpose. SCRIMS! If you’re a photographer, I’m sure you have a million ways to diffuse light and have made your own make shift ones yourself. For that former Art student gone photographer, I definitely recommend this simple DIY. It shouldn’t cost you more than $20 total.


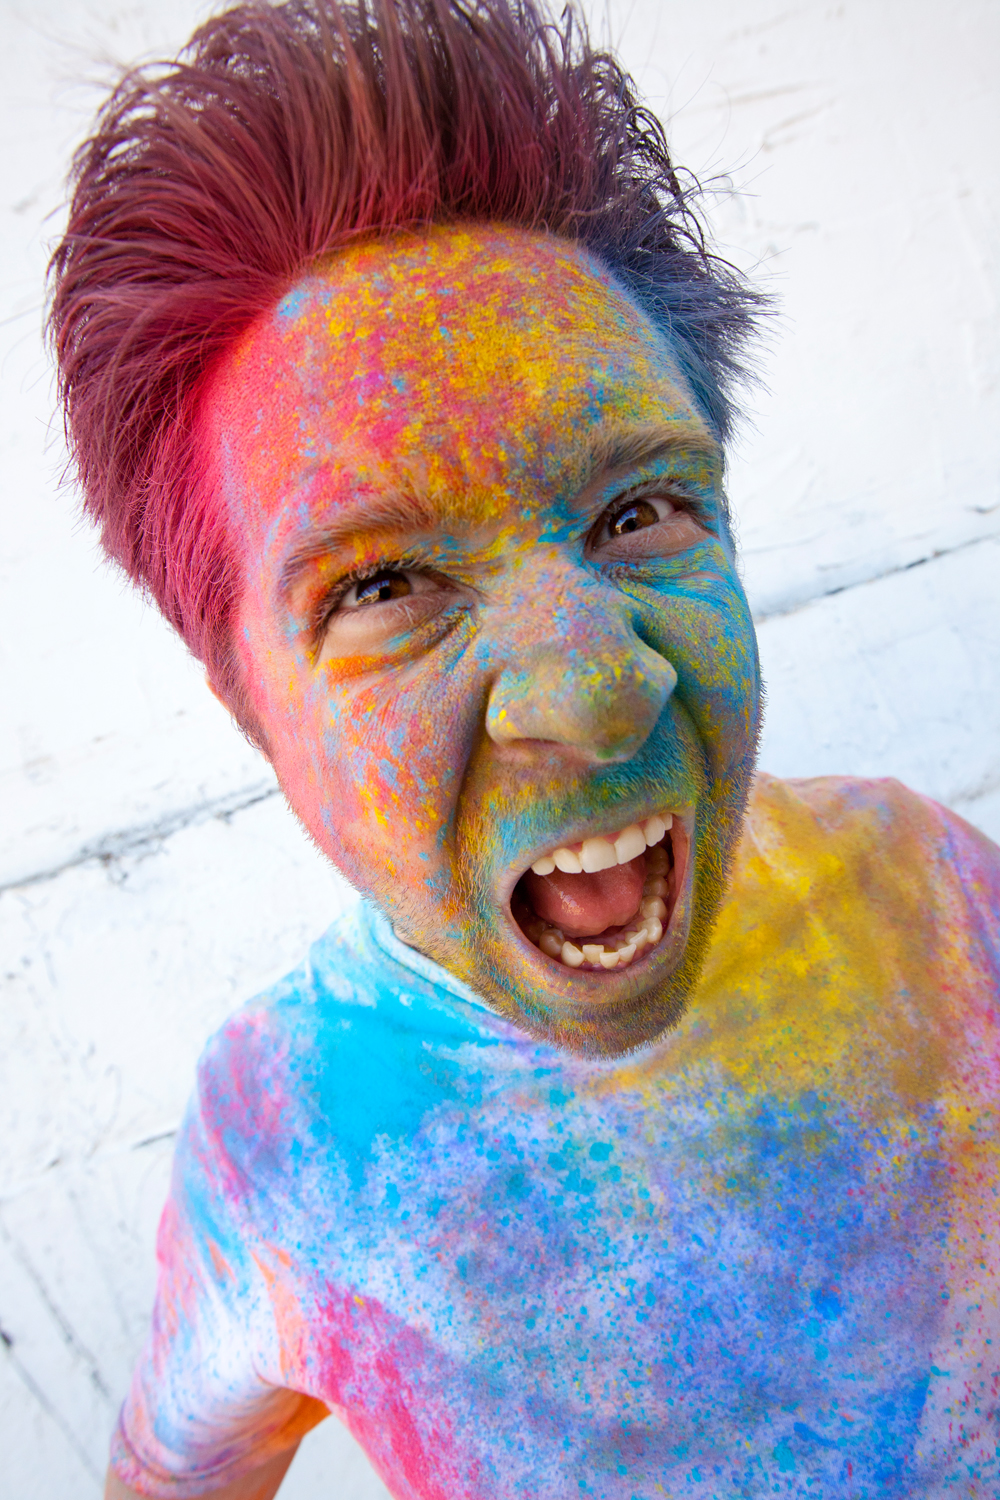
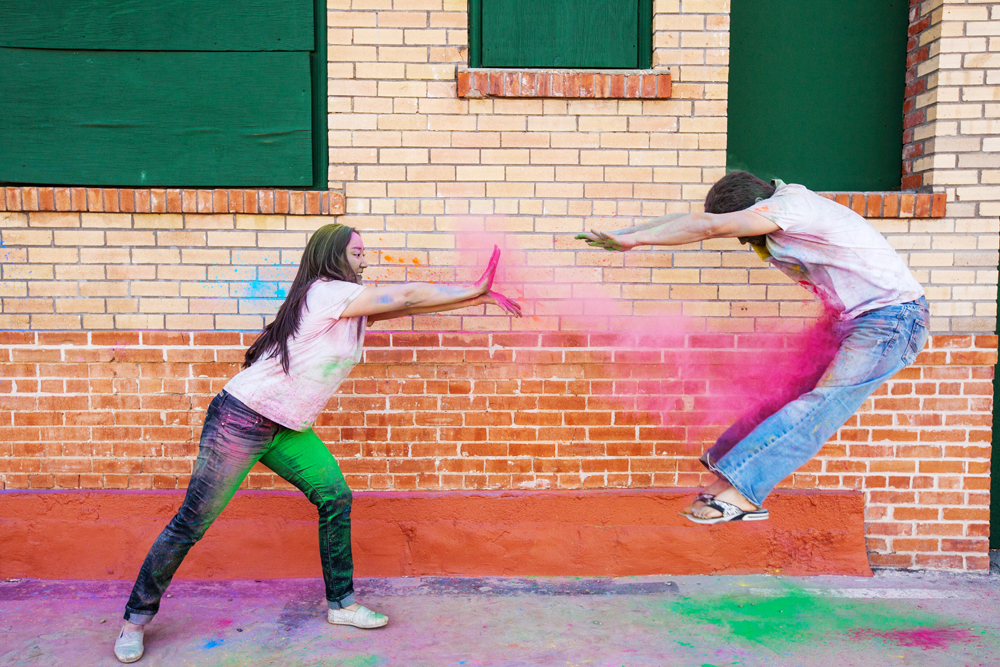
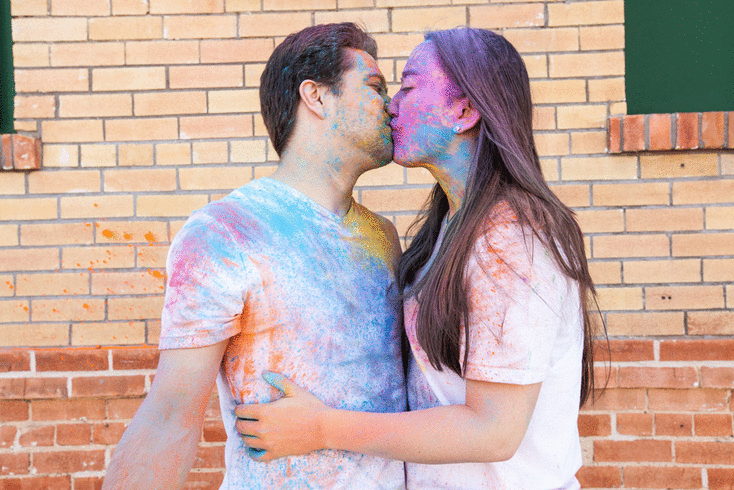
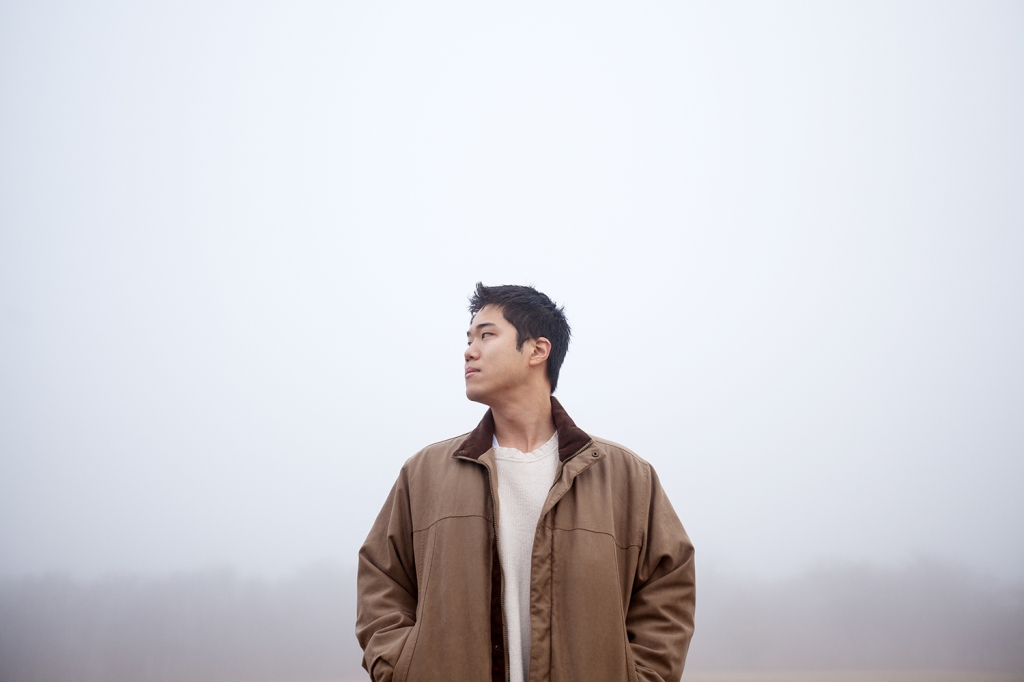
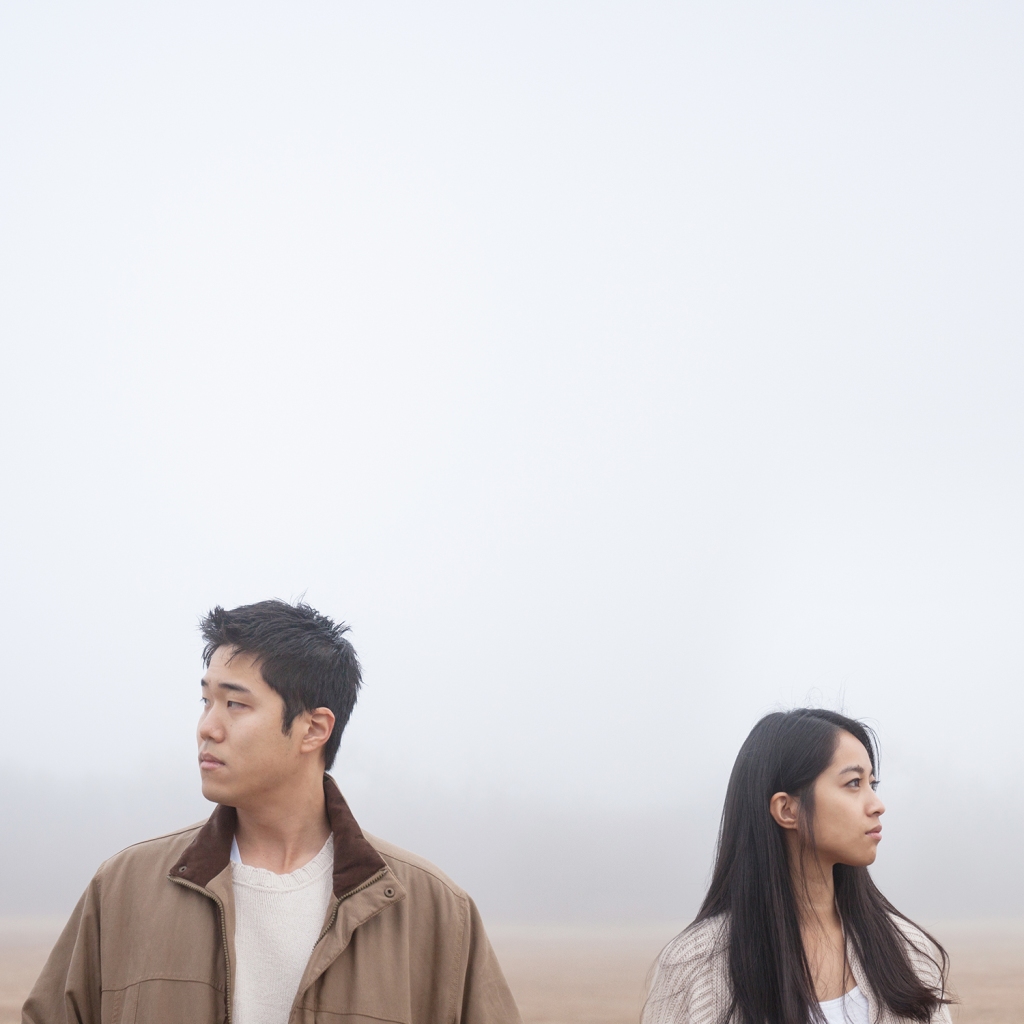
 //Special Engagement Bonus// We did a paint powder photo session! I’ve always seen these ideas with other photographers so I was extremely lucky when Cristine came to me with the idea. It’s definitely not something you can do without a little bit of preparation. For first timers doing this, I recommend the following suggestions before you start.